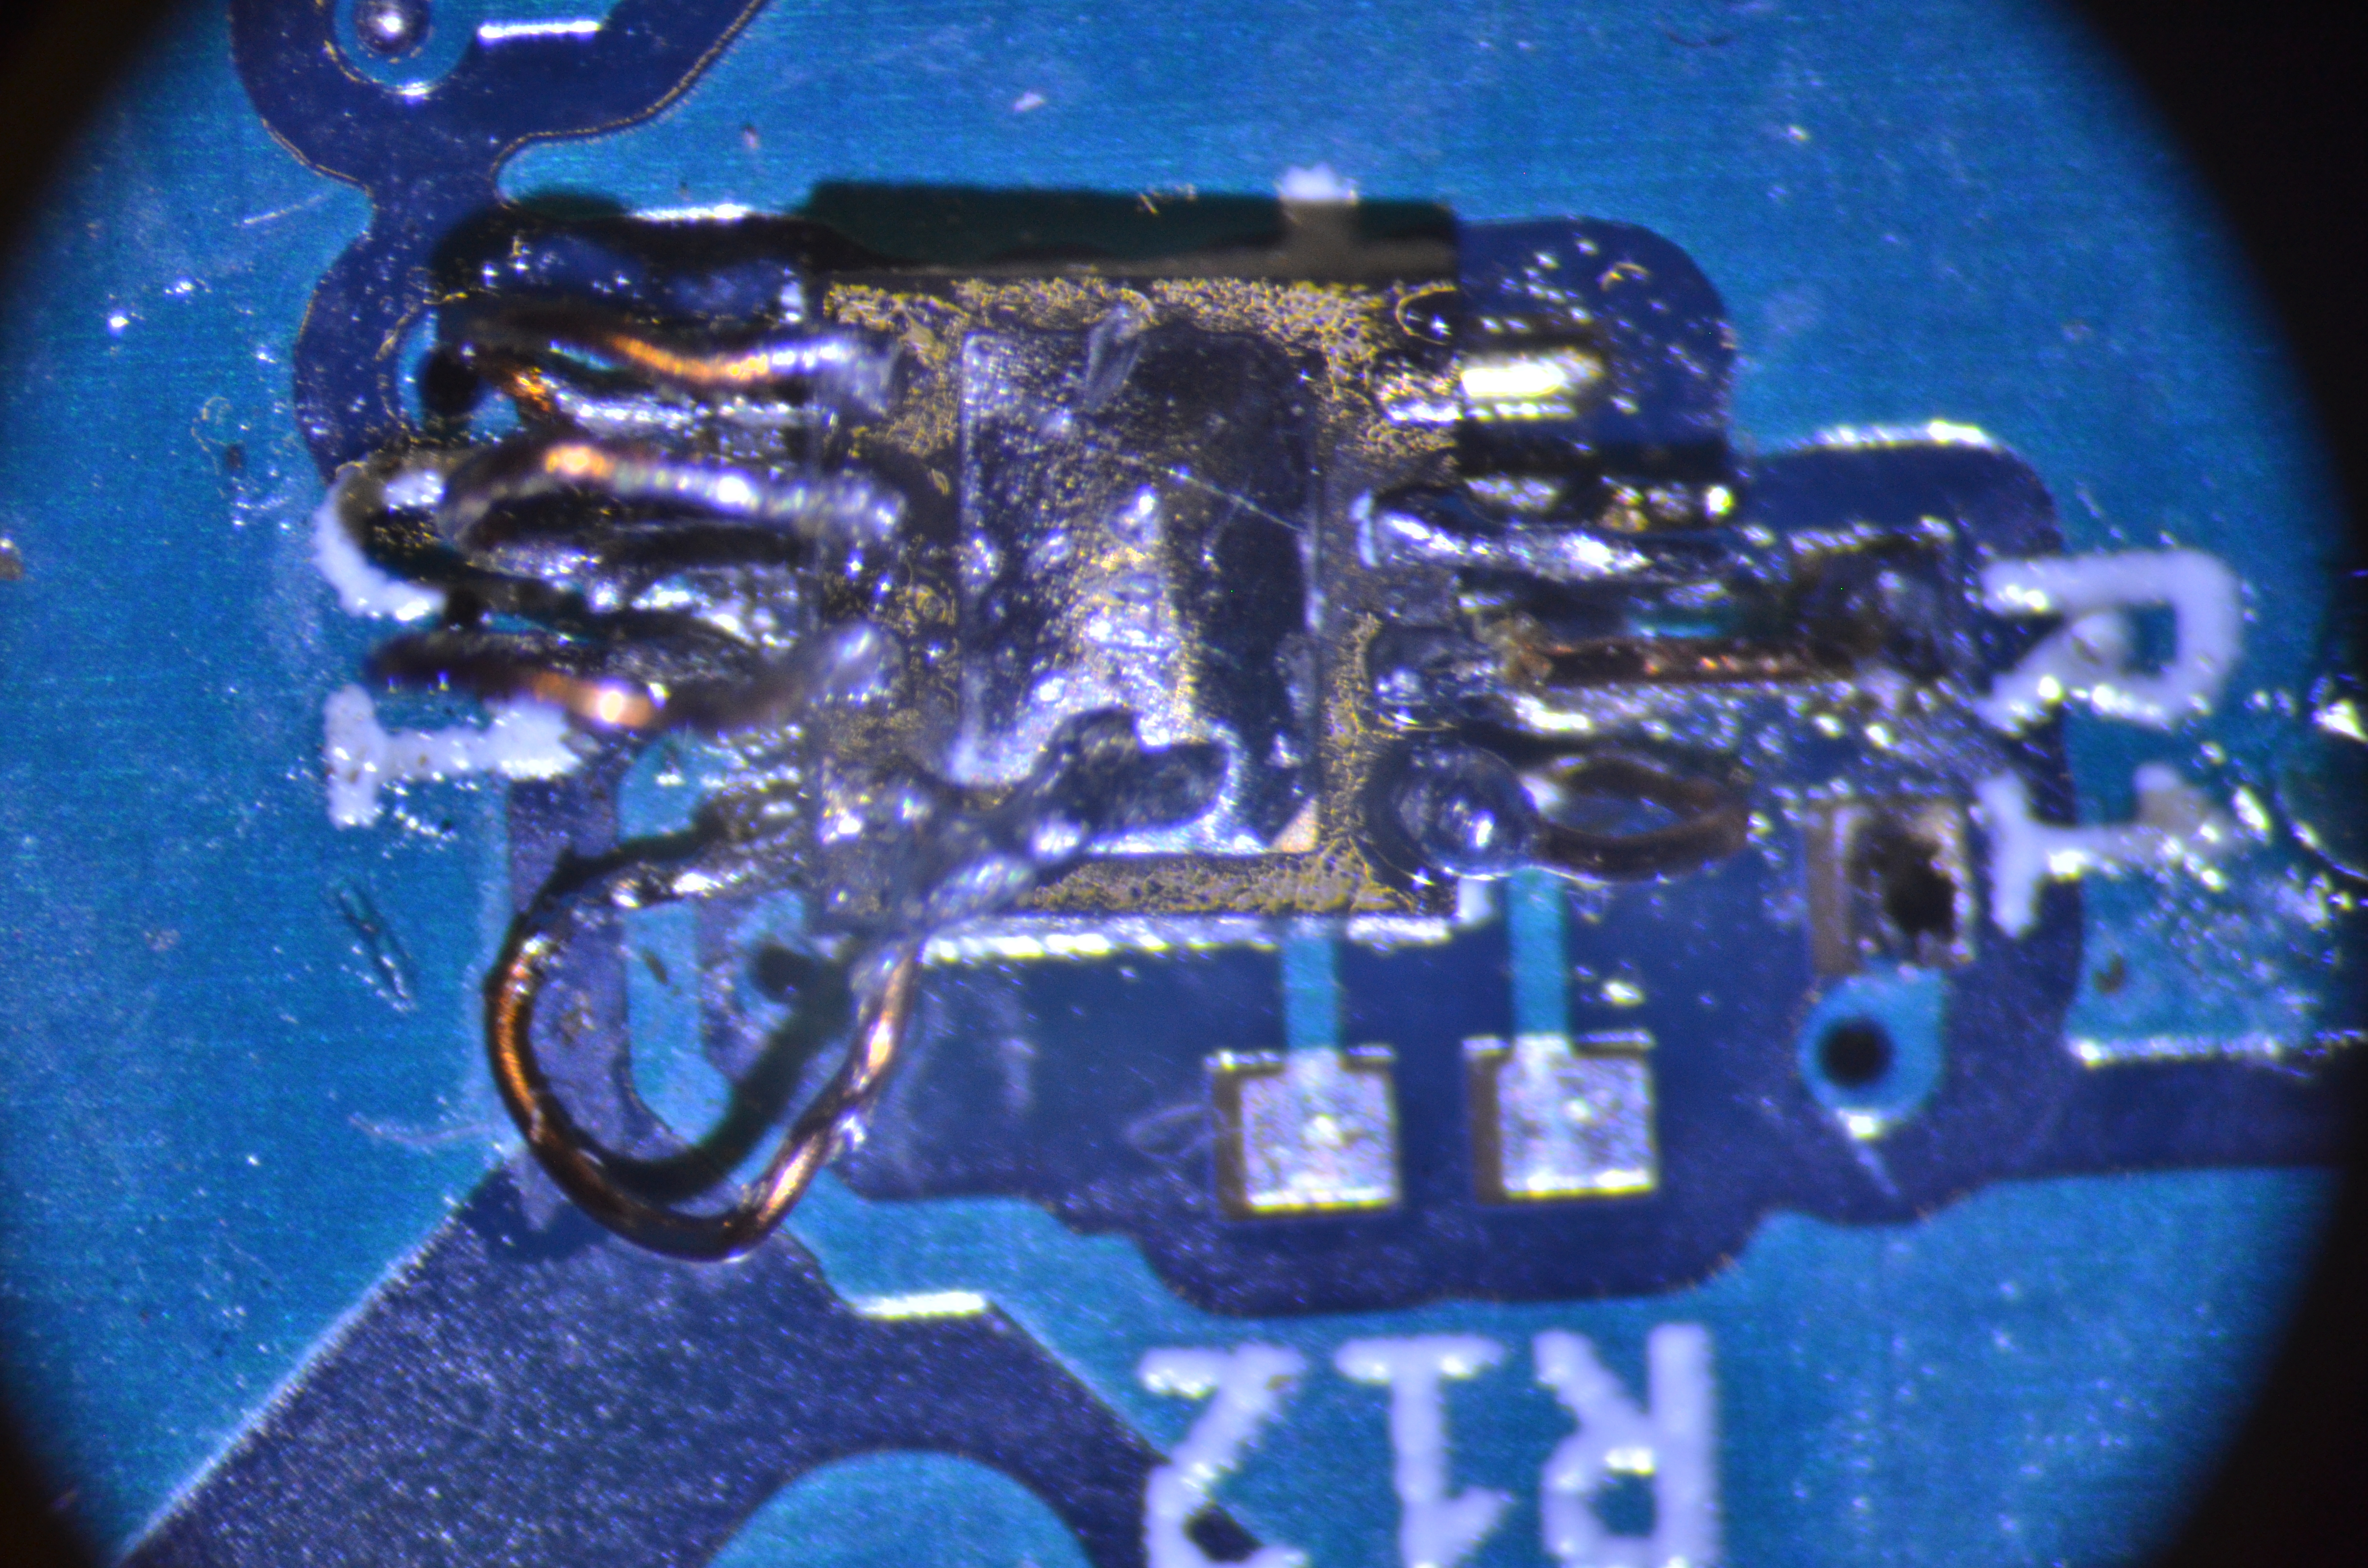
Sometimes you mess up a component footprint.
In this case the footprint is inverted.
Luckily there weren’t many pins on the chip (TPS2115ADRBR).

Sometimes you mess up a component footprint.
In this case the footprint is inverted.
Luckily there weren’t many pins on the chip (TPS2115ADRBR).
When using openocd with a MCU with multiple targets, openocd will listen on multiple ports (one per core) for gdb to connect to.
So for example a LPC4370 with the following openocd config:
swj_newdap lpc4370 m4 -irlen 4 -ircapture 0x1 -irmask 0xf -expected-id 0x4ba00477
jtag newtap lpc4370 m0sub -irlen 4 -ircapture 0x1 -irmask 0xf -expected-id 0x0ba01477
jtag newtap lpc4370 m0app -irlen 4 -ircapture 0x1 -irmask 0xf -expected-id 0x0ba01477

target create lpc4370.m4 cortex_m -chain-position lpc4370.m4
target create lpc4370.m0sub cortex_m -chain-position lpc4370.m0sub
target create lpc4370.m0app cortex_m -chain-position lpc4370.m0app

lpc4370.m4 configure -work-area-phys 0x10000000 \
                        -work-area-size 0x20000 -work-area-backup 0
lpc4370.m0sub configure -work-area-phys 0x18000000 \
                         -work-area-size 0x4800 -work-area-backup 0
lpc4370.m0app configure -work-area-phys 0x10080000 \
                         -work-area-size 0x92000 -work-area-backup 0
targets lpc4370.m4
The main m4 core will be available as usual by connecting with gdb> target remote localhost:3333 , and m0app will be debuggable by connecting with gdb> target remote localhost:3335 .
The m0app and m0sub cores are a bit special in that they must be started from the m4 core, and any attempts to start them from gdb will result in warnings and the core will still be in reset state, until started by the m4 core.
ipmiutil is available for Linux, Windows, Solaris, Mac OSX, and FreeBSD and can be downloaded from: http://ipmiutil.sourceforge.net/
The following command will enable LAN access for IPMI on IP 10.1.2.3 with gateway 10.1.2.1, username admin and password Password
ipmiutil lan –e –I 10.1.2.3 -f 2 -G 10.1.2.1 –u admin –p Password
To set shared LAN on Dell servers (useful if the servers does not have a DRAC card):
ipmiutil delloem lan set shared
This assumes that the two drives are /dev/sda and /dev/sdb.
Where /dev/sda is the existing drive and /dev/sdb is the new drive,
and that the system partition is sda1/sdb1.
Copy the partition table from /dev/sda to /dev/sdb
sfdisk -d /dev/sda | sfdisk --force /dev/sdb
Set the filesystem type to “fd” (Linux raid autodetect)
sfdisk --change-id /dev/sdb 1 fd
Zero the superblock to make sure that mdadm will not detect an existing volume
mdadm --zero-superblock /dev/sdb1
Create the RAID 1 with the new disk only
mdadm --create /dev/md0 --level=1 --raid-disks=2 missing /dev/sdb1
Add the raid to mdadm.conf so that it will be configured automatically on boot
mdadm --examine --scan >> /etc/mdadm/mdadm.conf
Create the physical volume on the new raid volume
pvcreate /dev/md0
Create a volume group on the new physical volume
vgcreate vg_hostname /dev/md0
Create a logical volume on then new volume group
lvcreate -L 100G -n root vg_hostname
Create an ext4 filesystem on the logical volume
mkfs.ext4 /dev/vg_hostname/root
Mount the new filesystem
mount /dev/vg_hostname/root /mnt
Copy the old system files
rsync -auxHAXSv --exclude=/dev/* --exclude=/proc/* --exclude=/sys/* --exclude=/tmp/* --exclude=/mnt/* --exclude=/afs/* / /mnt/
Modify /etc/fstab, the line for / should be
/dev/vg_hostname/root / ext4 errors=remount-ro 0 1
Create /etc/grub.d/09-lvm with contents:
#!/bin/sh
exec tail -n +3 $0

menyentry 'New system' --class gnu-linux --class gnu --class os {
    insmod part_msdos
    insmod diskfilter
    insmod mdraid1x
    insmod lvm
    insmod ext2
    set root='lvm/vg_hostname-root'
    linux /boot/vmlinuz-$(uname -r) root=/dev/mapper/vg_hostname-root ro
    initrd /boot/initrd.img-$(uname -r)
}
Add the following to /etc/default/grub:
GRUB_PRELOAD_MODULES="lvm"
Update the grub configuration files:
update-grub
Update the initramfs
update-initramfs -c -k $(uname -r) -u
Reboot and it should now boot from the LVM volume
reboot
Verify that we have booted from the LVM volume
mount
# the output should contain the following
/dev/mapper/vg_hostname-root on / type ext4 (rw,relatime,errors=remount-ro,data=ordered)
If everything is ok we can continue with adding the old drive to the raid. Change the partition type to Linux raid autodetect
sfdisk –change-id /dev/sda 1 fd
Add the old drive to the raid:
mdadm --add /dev/md0 /dev/sda1
Update grub config files and initramfs
update-grub
update-initramfs -c -k $(uname -r) -u
Install grub to the devices.
grub-install --recheck /dev/sda
grub-install --recheck /dev/sdb
This is the configuration for L2TP/IPSEC on Cisco ASA.
This assumes that there is an aaa-server configured named ad_vpn for vpn users.
When using aaa-server protocol ldap then only pap is valid authentication type.
If you use radius authentication instead of ldap then ms-chap-v2 authentication can be enabled.
ip local pool vpnclient 172.16.20.100-172.16.20.120 mask 255.255.255.0access-list vpnclient_splitTunnelAcl remark Internal
access-list vpnclient_splitTunnelAcl standard permit 192.168.45.0 255.255.255.0group-policy vpnclient internal
group-policy vpnclient attributes
vpn-tunnel-protocol IPSec l2tp-ipsec
split-tunnel-policy tunnelspecified
split-tunnel-network-list value vpnclient_splitTunnelAcl
intercept-dhcp enabletunnel-group DefaultRAGroup general-attributes
address-pool vpnclient
authentication-server-group ad_vpn
default-group-policy vpnclient
strip-realm
strip-group
tunnel-group DefaultRAGroup ipsec-attributes
pre-shared-key *****
tunnel-group DefaultRAGroup ppp-attributes
authentication pap
no authentication chap
no authentication ms-chap-v1crypto ipsec ikev1 transform-set l2tp1 esp-aes esp-sha-hmac
crypto ipsec ikev1 transform-set l2tp1 mode transport
crypto ipsec ikev1 transform-set l2tp2 esp-aes esp-md5-hmac
crypto ipsec ikev1 transform-set l2tp2 mode transport
crypto ipsec ikev1 transform-set aes-256-l2tp esp-aes-256 esp-sha-hmac
crypto ipsec ikev1 transform-set aes-256-l2tp mode transportcrypto dynamic-map SYSTEM_DEFAULT_CRYPTO_MAP 65535 set transform-set l2tp1 l2tp2 aes-256-l2tp
no crypto dynamic-map SYSTEM_DEFAULT_CRYPTO_MAP 65535 set pfscrypto isakmp nat-traversal 20
crypto ikev1 policy 5
authentication pre-share
encryption 3des
hash sha
group 2
lifetime 86400
crypto ikev1 policy 10
authentication pre-share
encryption aes
hash sha
group 2
lifetime 86400crypto ikev1 enable outside
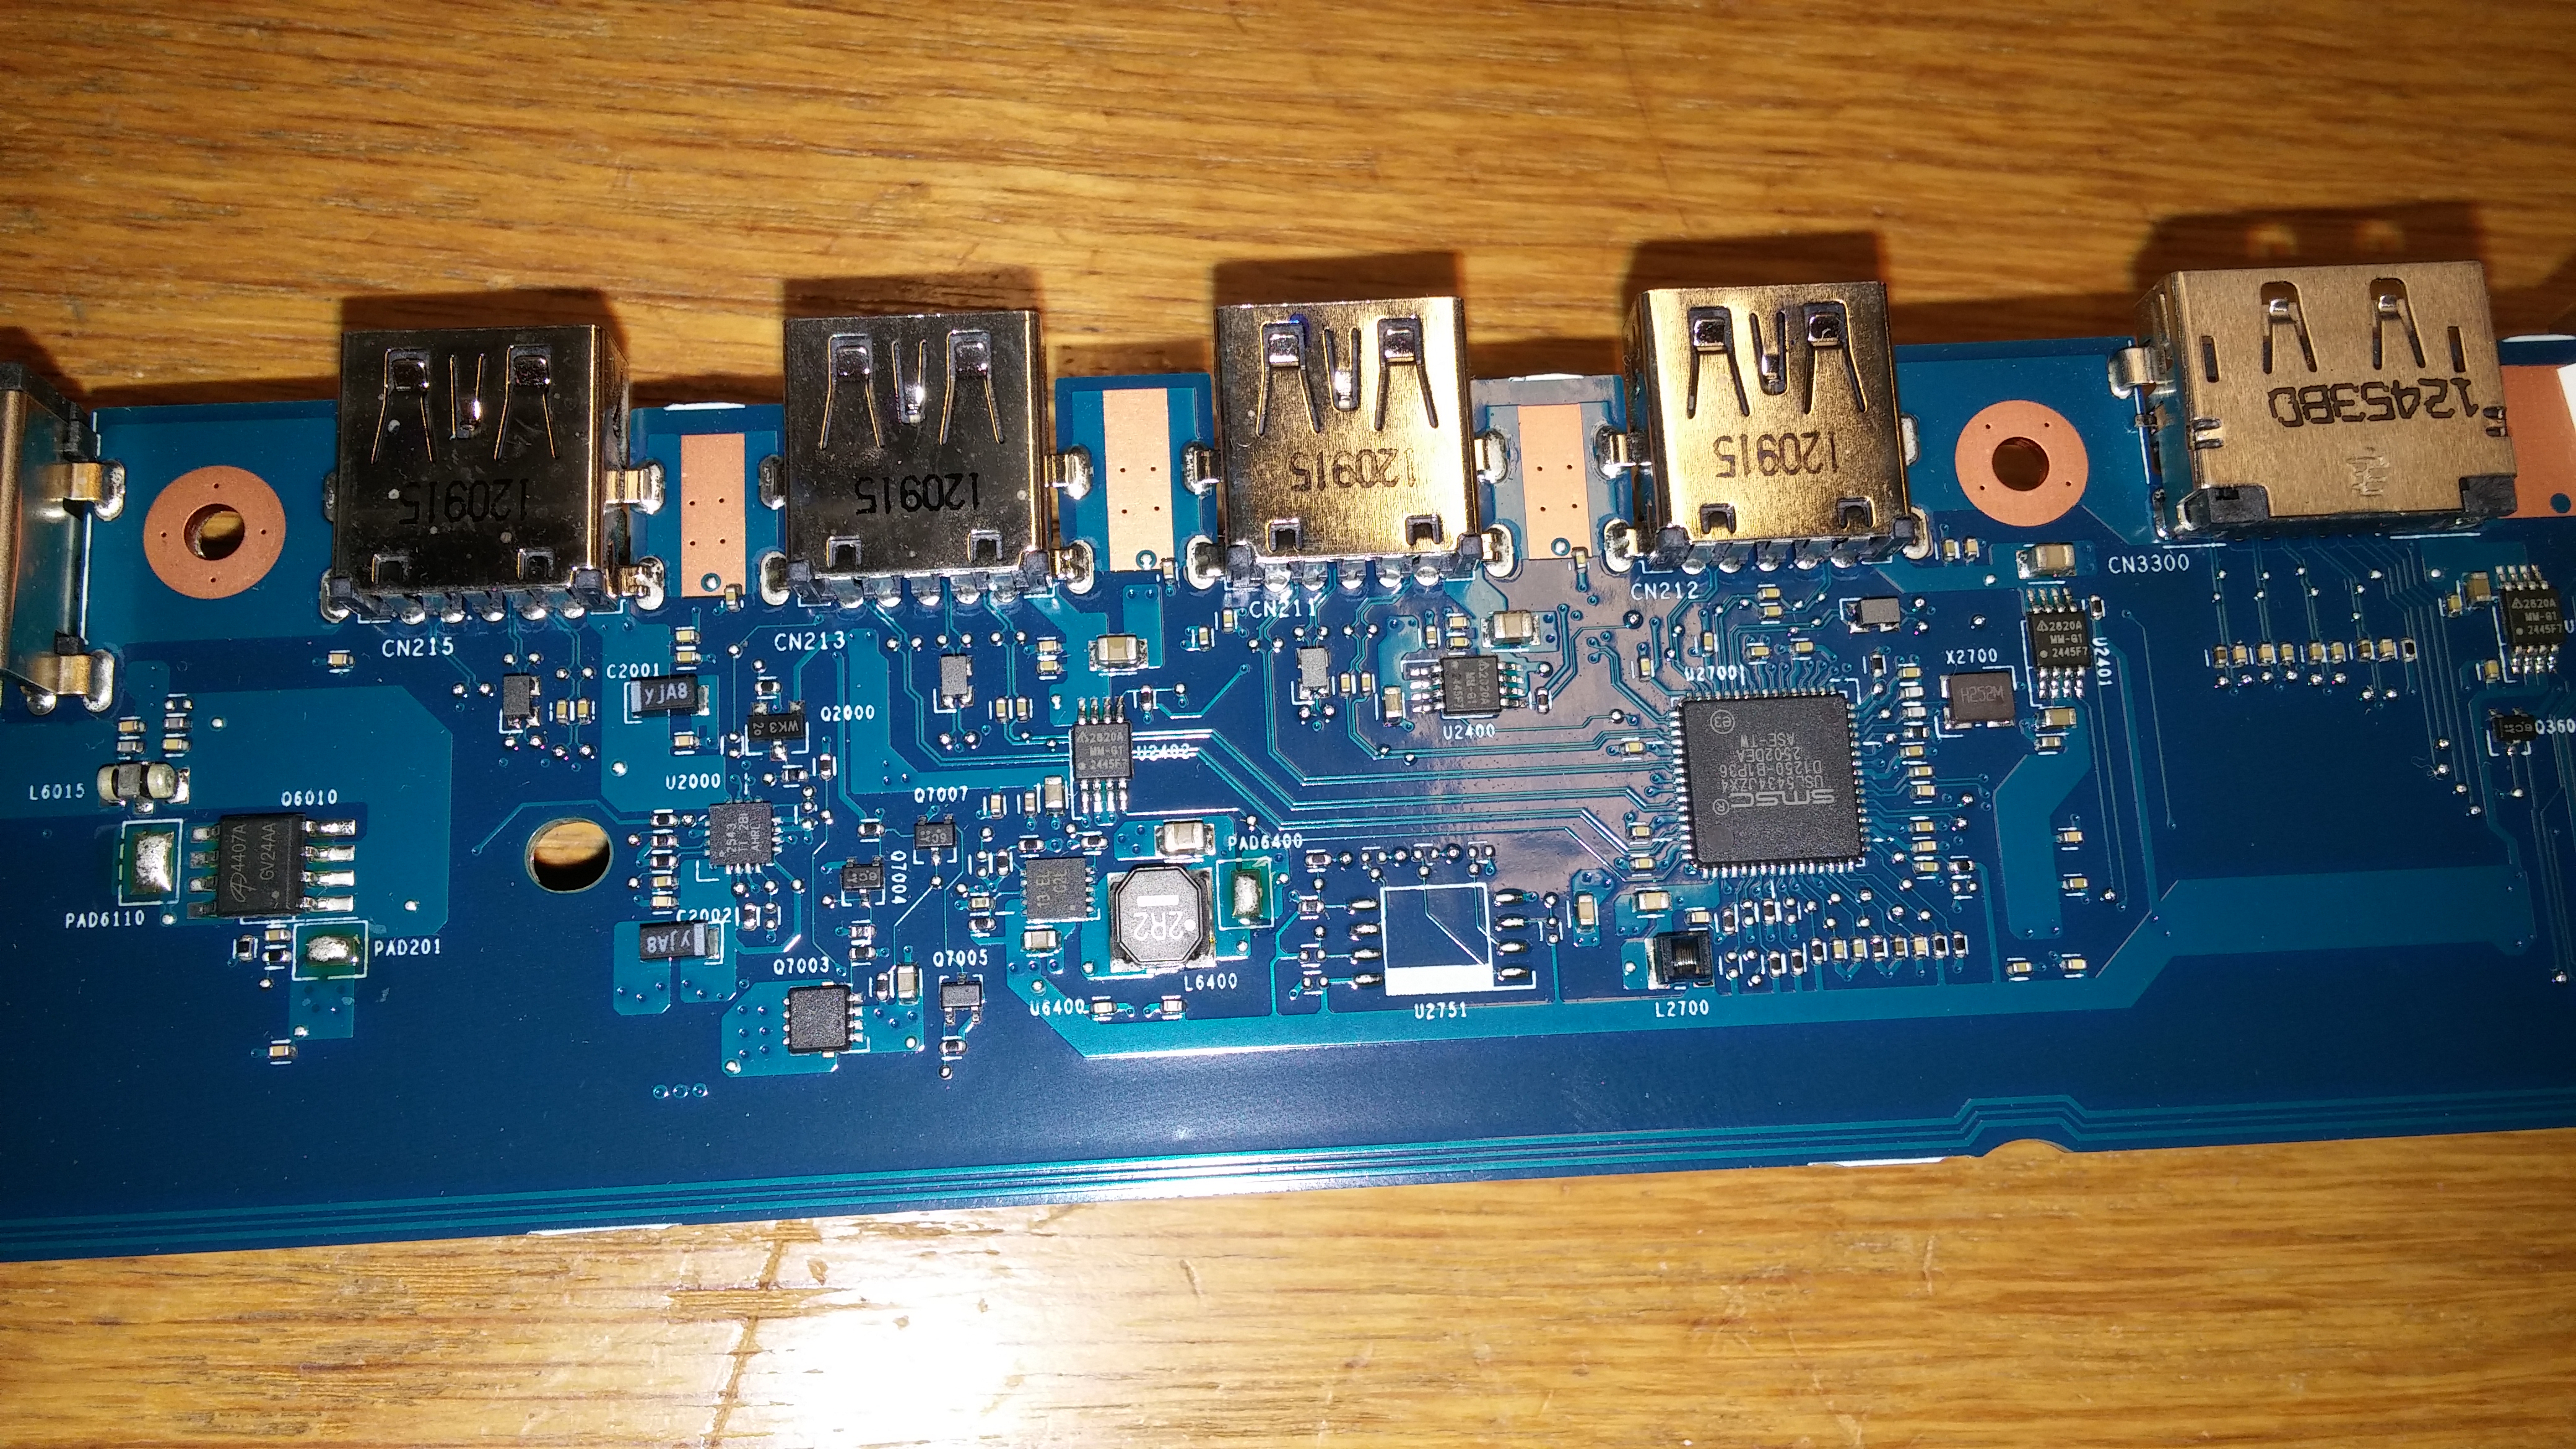
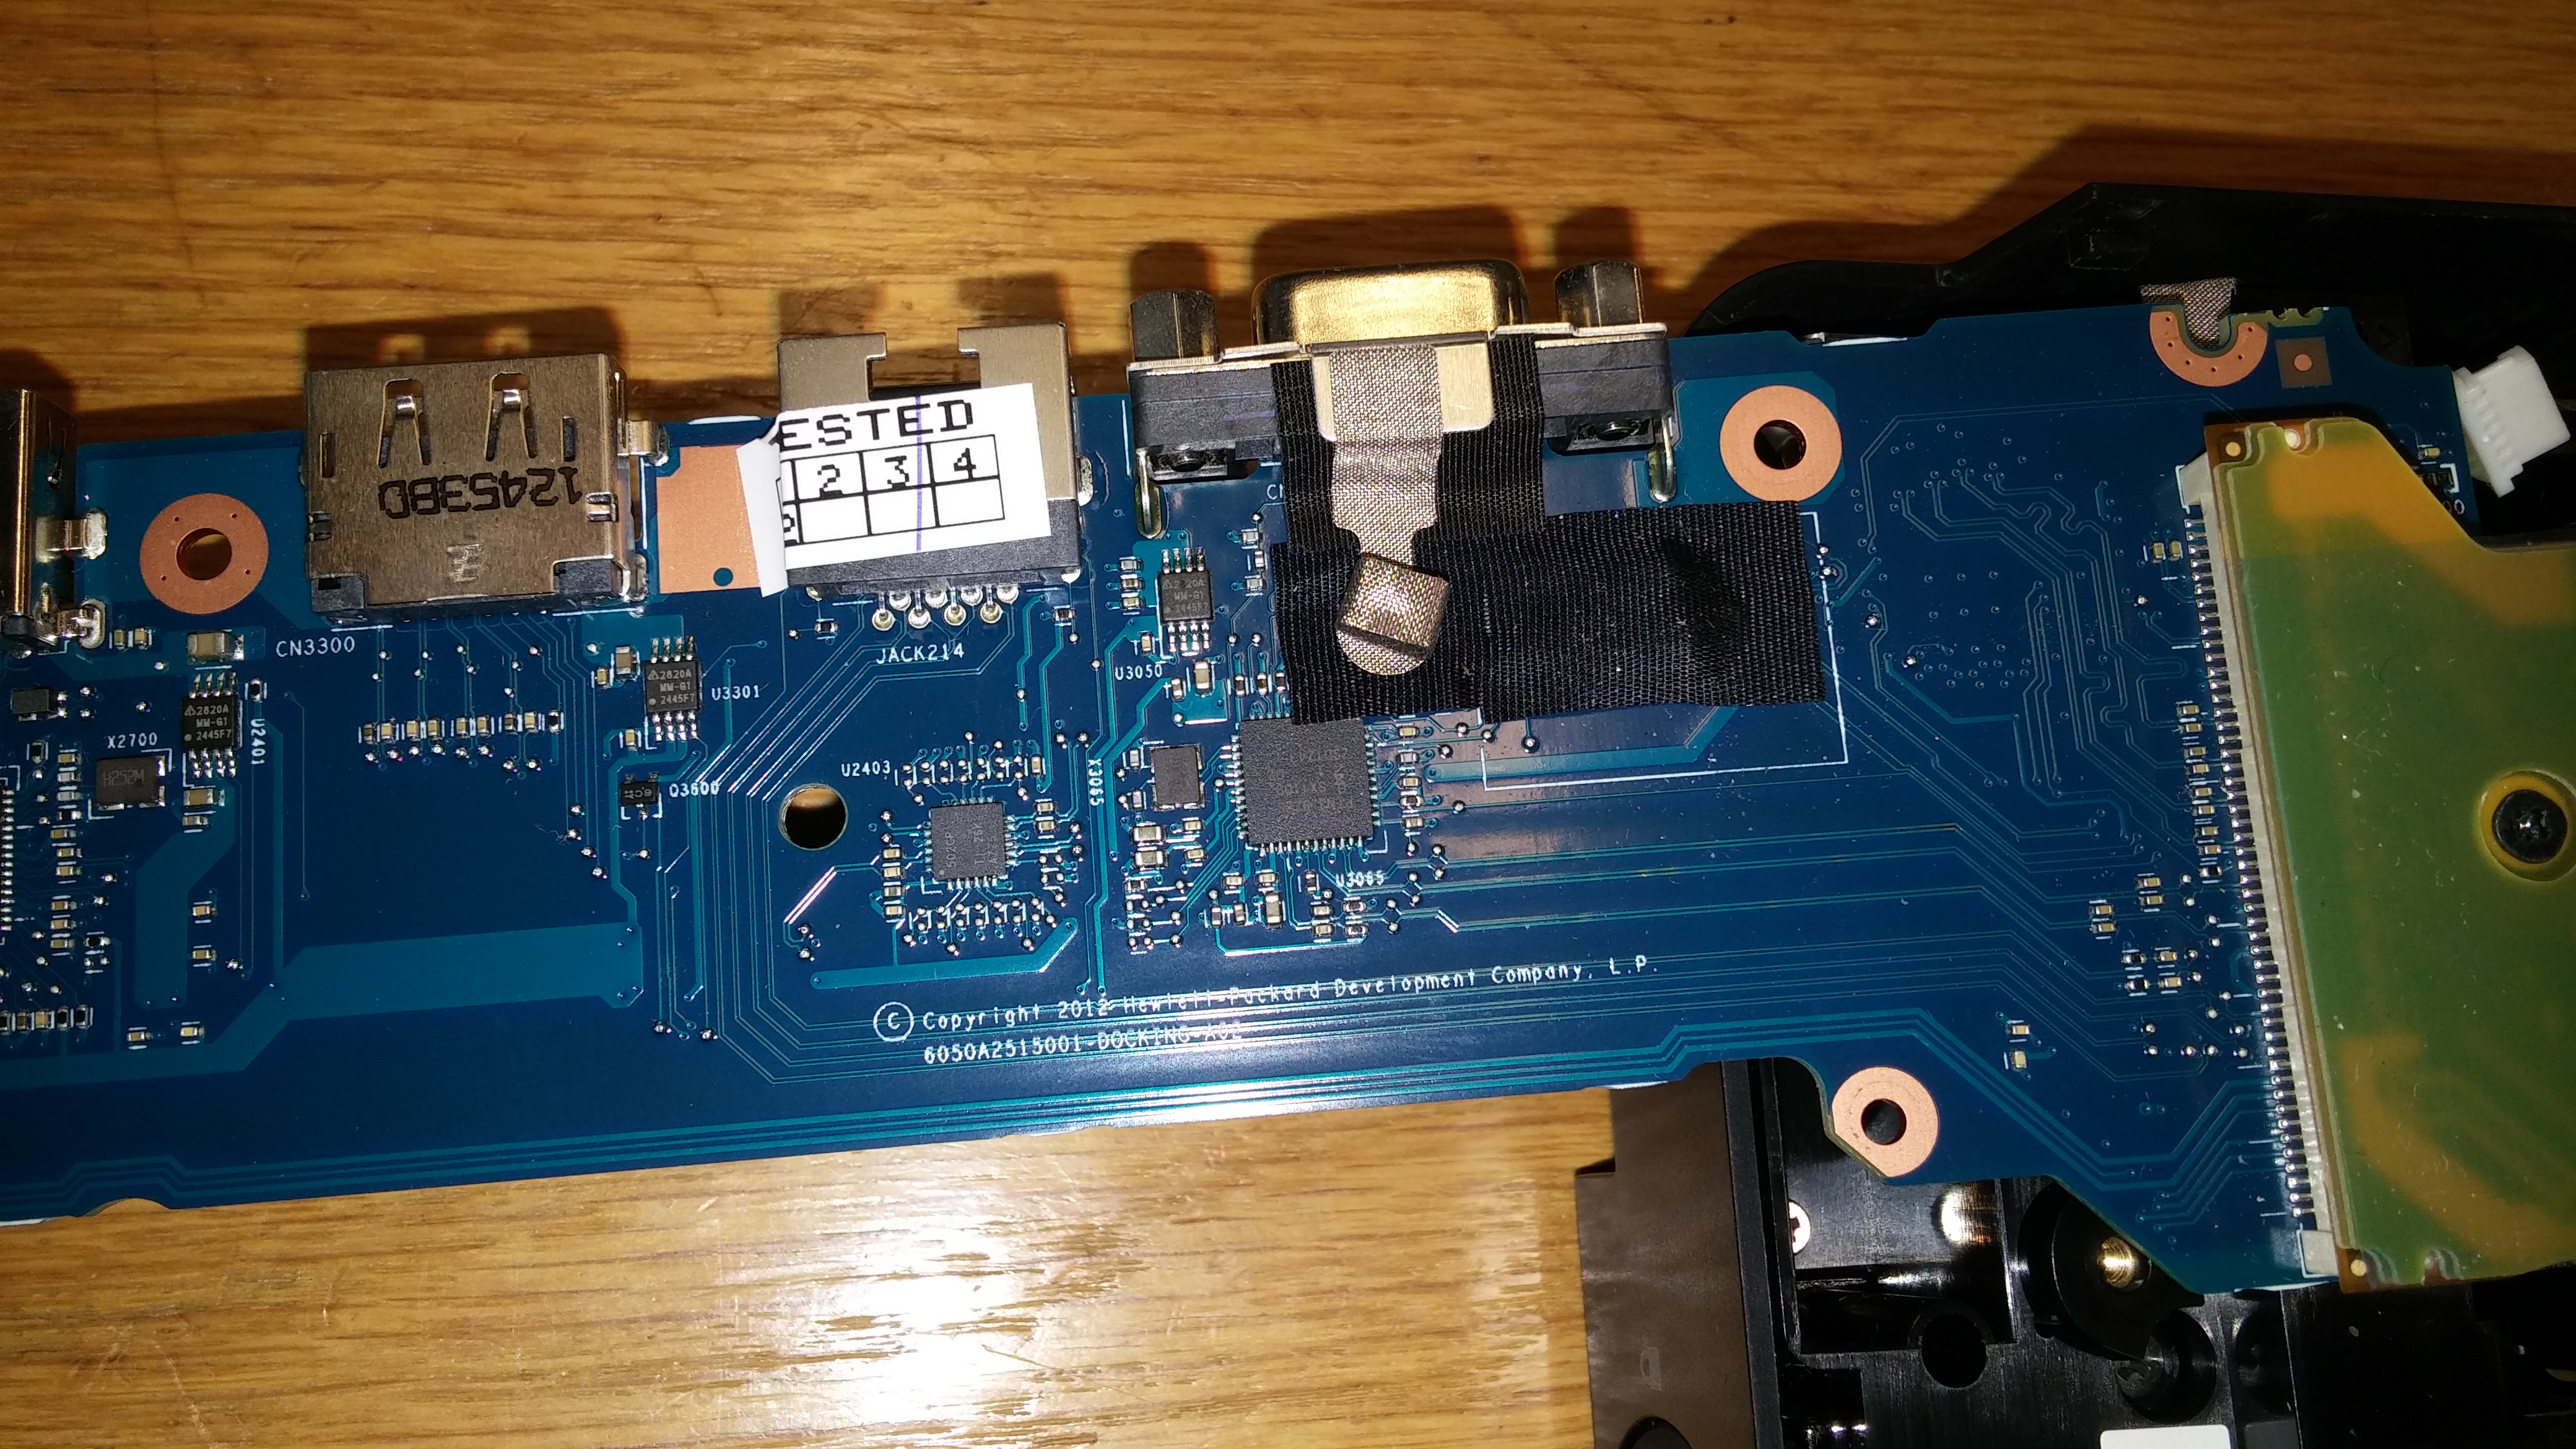
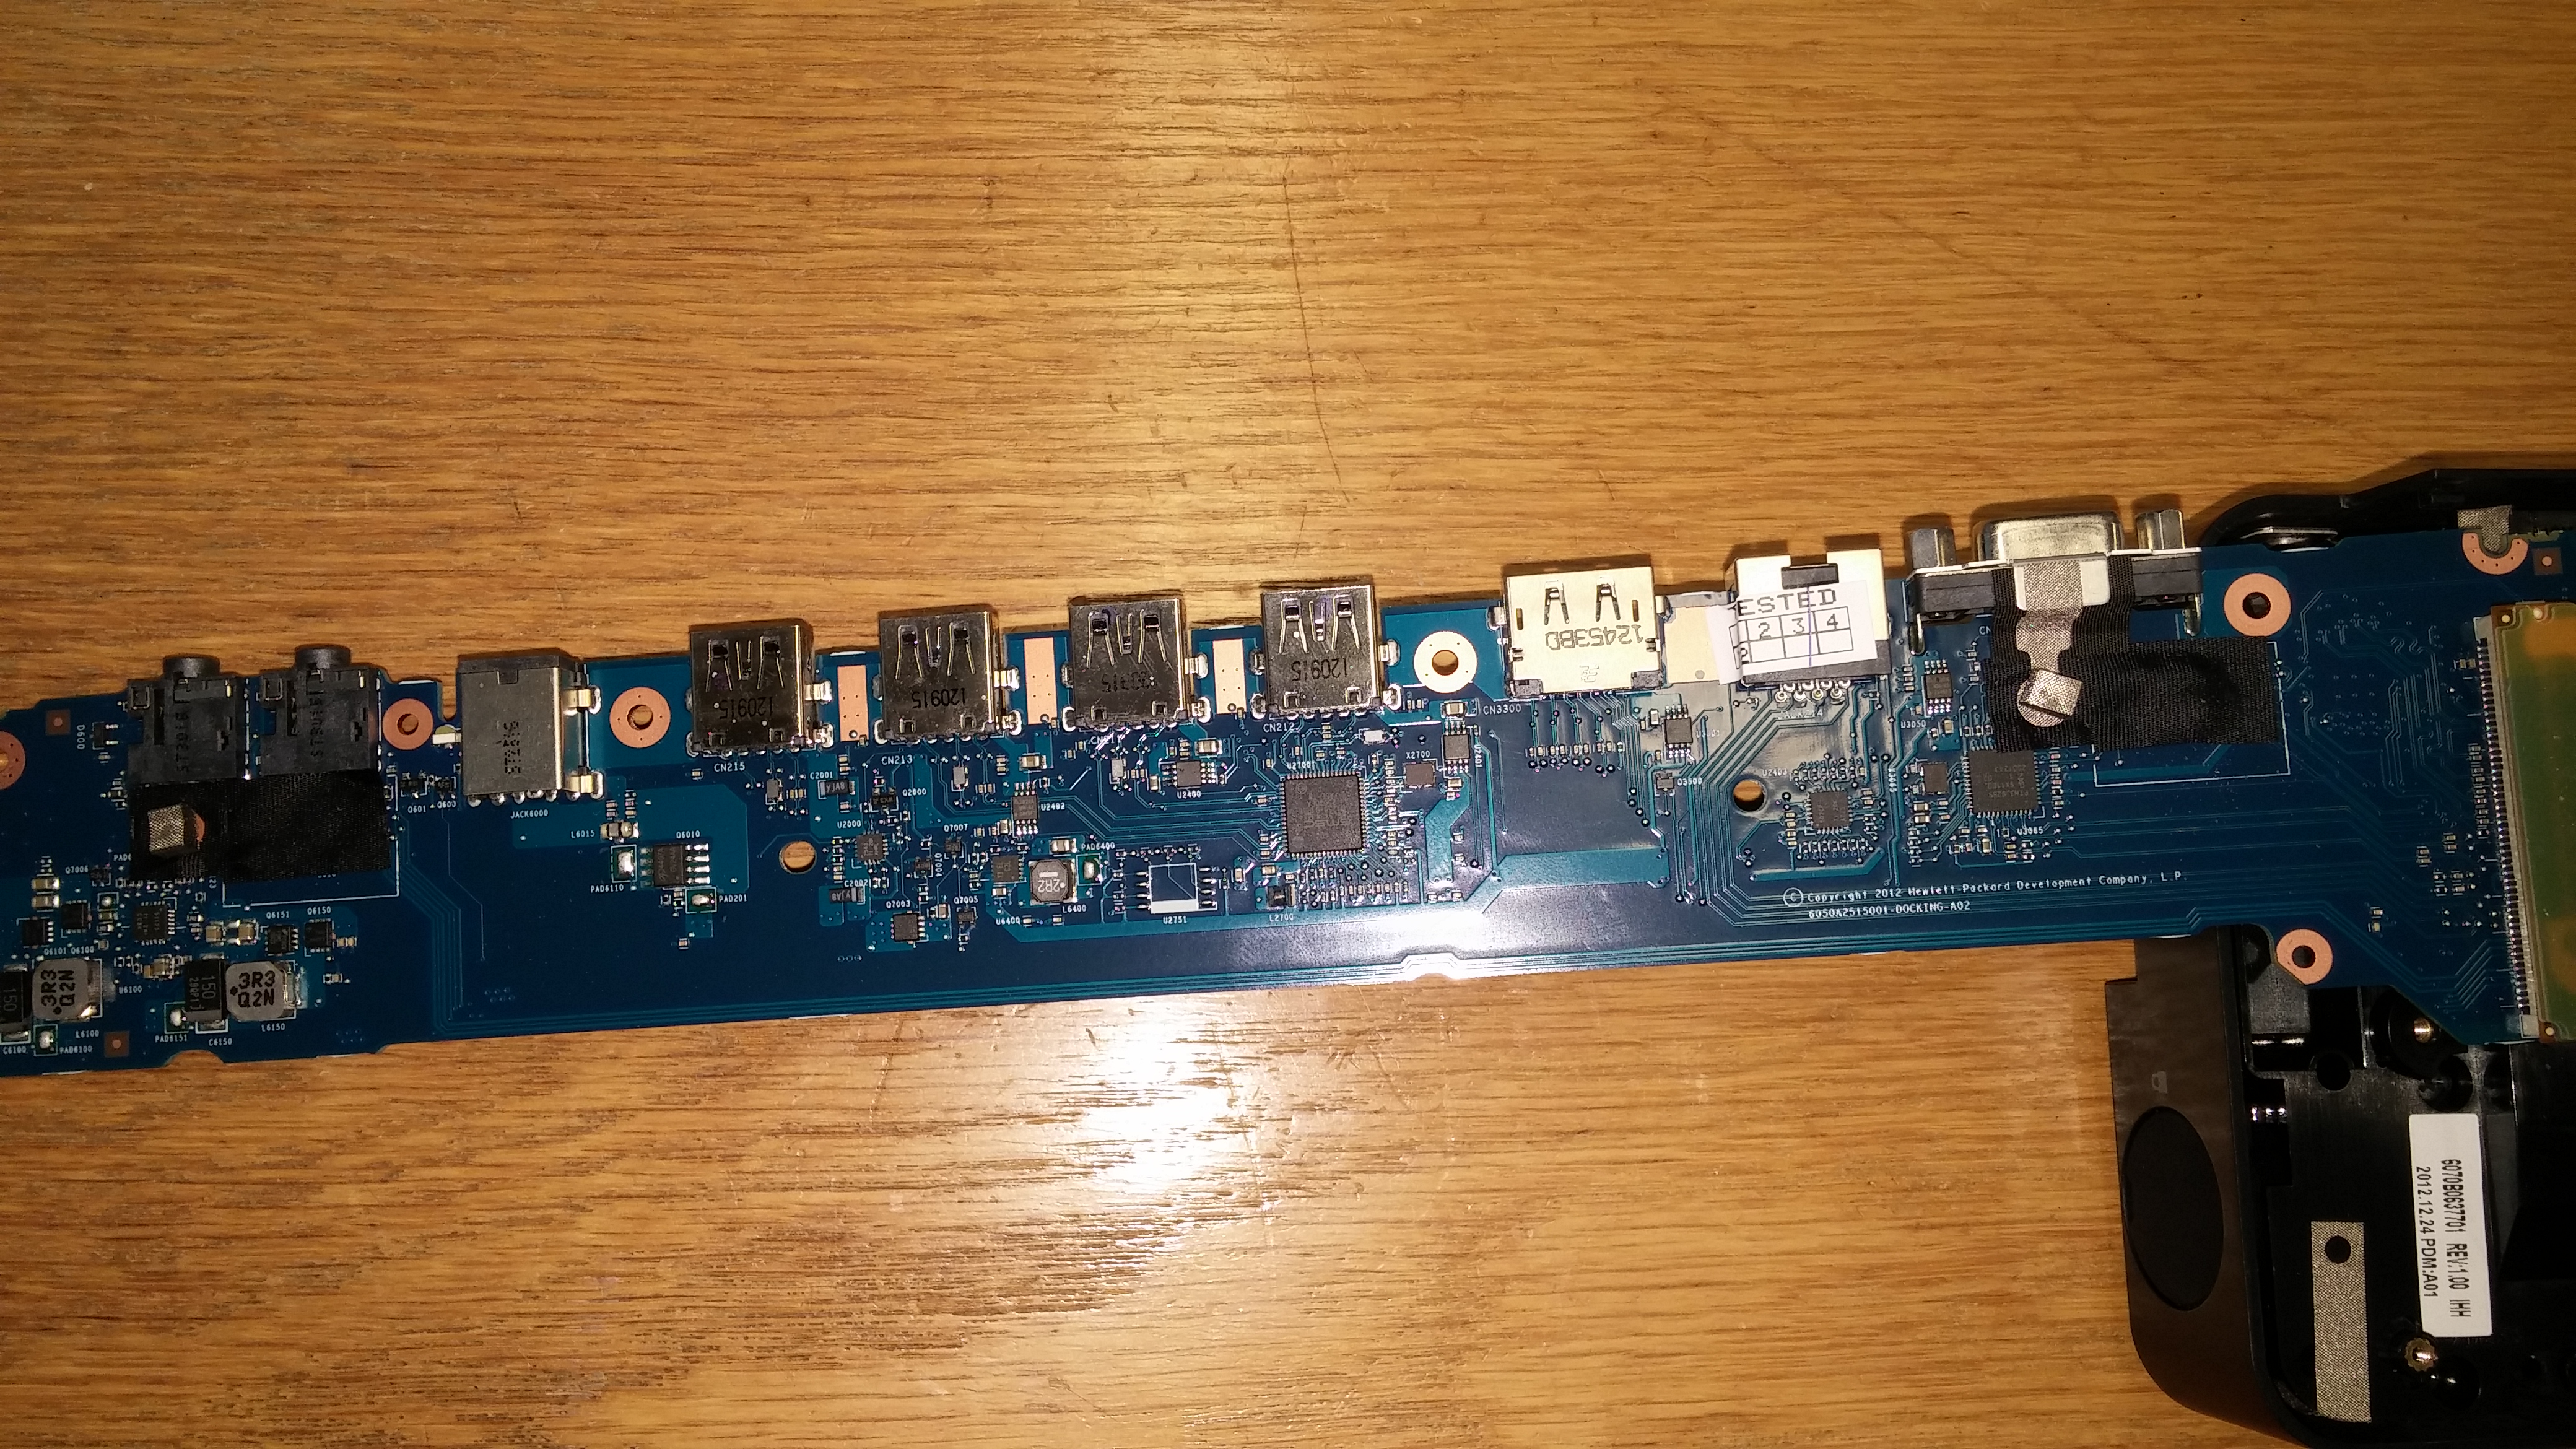
Some chips it is using:
PTN3392BS 2-lane DisplayPort to VGA adapter IC
SN65LVPE502CP Dual channel USB3.0 Redriver/Equalizer
USB5434JZX4 (4 port USB3 hub?)

This post assumes that the zpool is using raw disks instead of partitions.
It is also assumed that the name of the existing zpool is pool0.
Start by booting the livecd and enter the shell.
Import the existing zpool:
# zpool import pool0
Create the new dataset for the root, and set the mountpoint to /mnt for the installation.
# zfs create pool0/ROOT
# zfs create -o mountpoint=/mnt -o canmount=noauto pool0/ROOT/FreeBSD
# zfs mount pool0/ROOT/FreeBSD
Fetch the installation files and install the distribution:
# cd /mnt
# fetch ftp://ftp.se.freebsd.org/pub/FreeBSD/releases/amd64/amd64/10.3-RELEASE/base.txz
# fetch ftp://ftp.se.freebsd.org/pub/FreeBSD/releases/amd64/amd64/10.3-RELEASE/kernel.txz
# fetch ftp://ftp.se.freebsd.org/pub/FreeBSD/releases/amd64/amd64/10.3-RELEASE/ports.txz
# fetch ftp://ftp.se.freebsd.org/pub/FreeBSD/releases/amd64/amd64/10.3-RELEASE/src.txz
# tar xvpf base.txz
# tar xvpf kernel.txz
# tar xvpf ports.txz
# tar xvpf src.txz
# cd /
Make the system bootable (change ada0 to your hdd):
# echo 'zfs_load="YES"' >> /mnt/boot/loader.conf
# echo 'zfs_enable="YES"' >> /mnt/etc/rc.conf
# zpool set bootfs=pool0/ROOT/FreeBSD pool0
# zfs unmount pool0/ROOT/FreeBSD
# zfs set mountpoint=/ pool0/ROOT/FreeBSD
# zpool export pool0
# sysctl kern.geom.debugflags=0x10
# dd if=/boot/zfsboot of=/dev/ada0 count=1
# dd if=/boot/zfsboot of=/dev/ada0 iseek=1 oseek=1024
Reboot and login as root, then change your password and do your usual configuration to /etc/rc.conf.
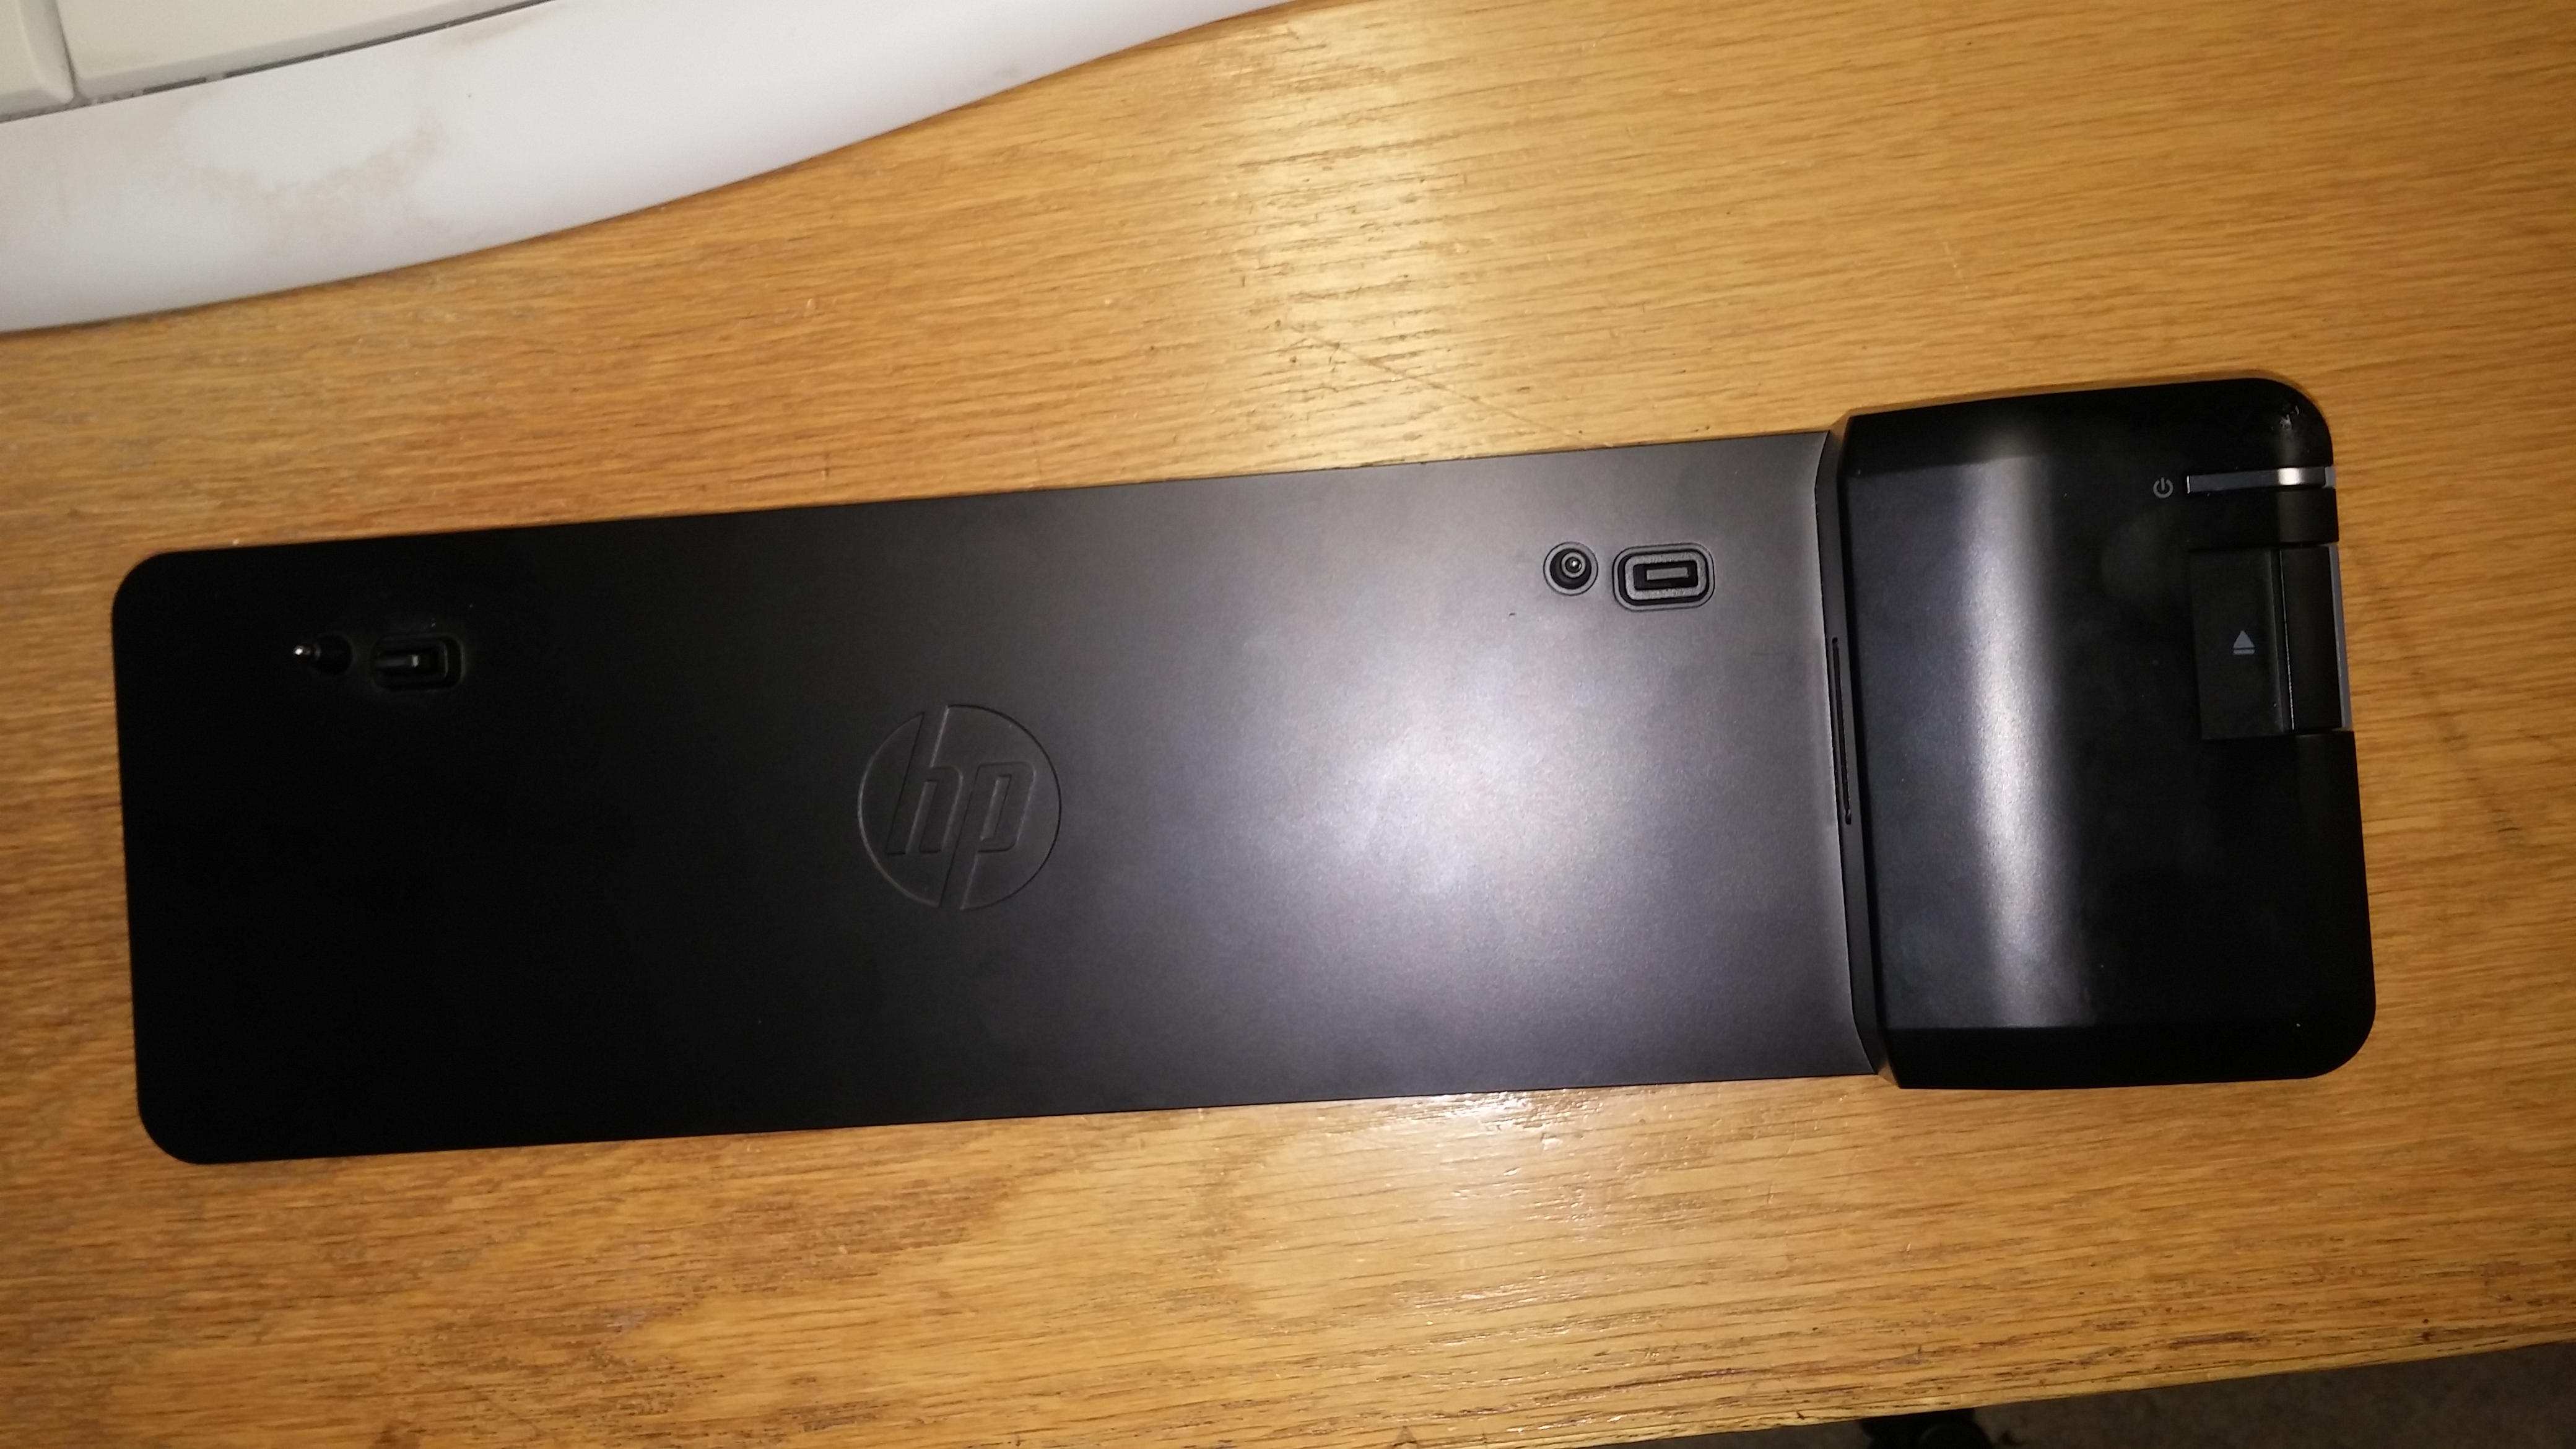
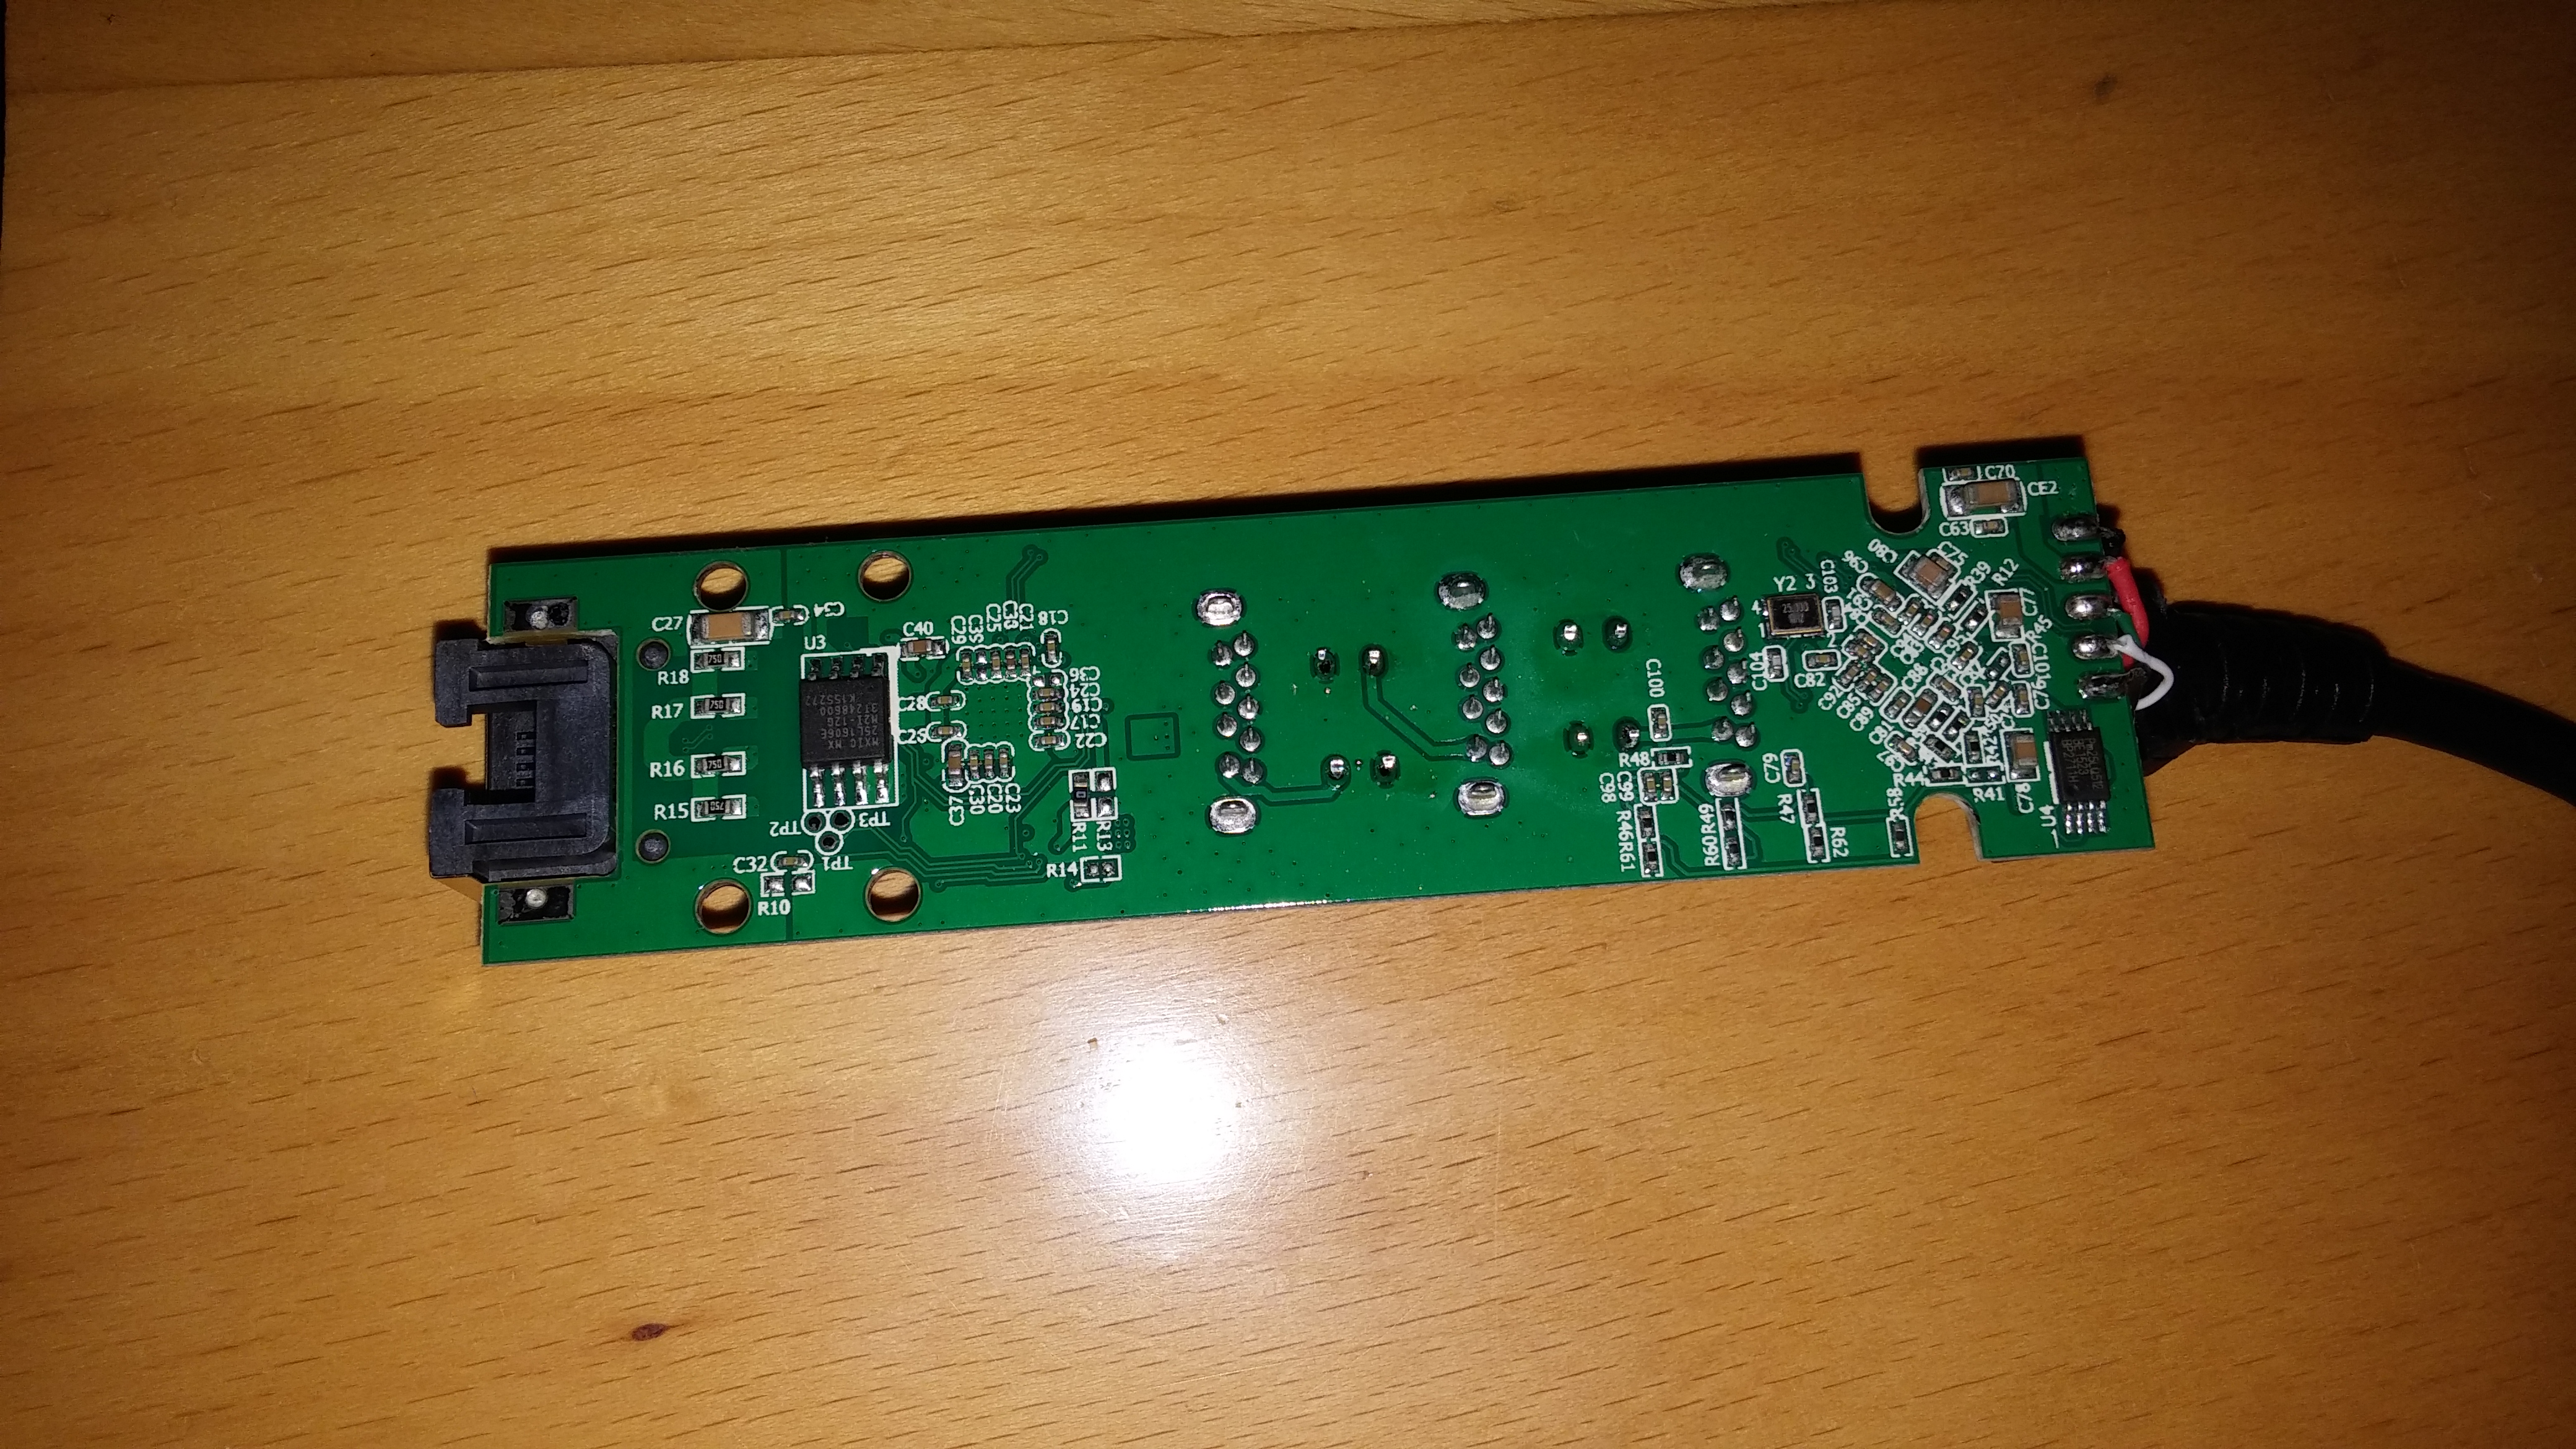
I had a LTE module with a broken connector so I replaced it.
The connector is really tiny and was quite annoying to desolder.
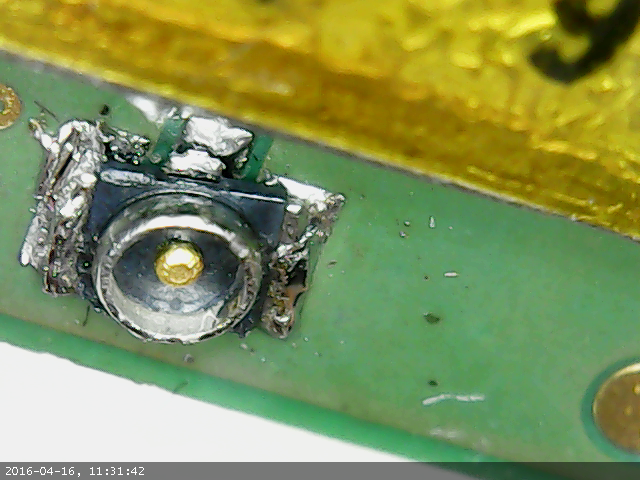
I believe that some liquid have entered this board, most likely through the hole in the dvi connector, more specifically the hole from analog ground which has no metal pin.
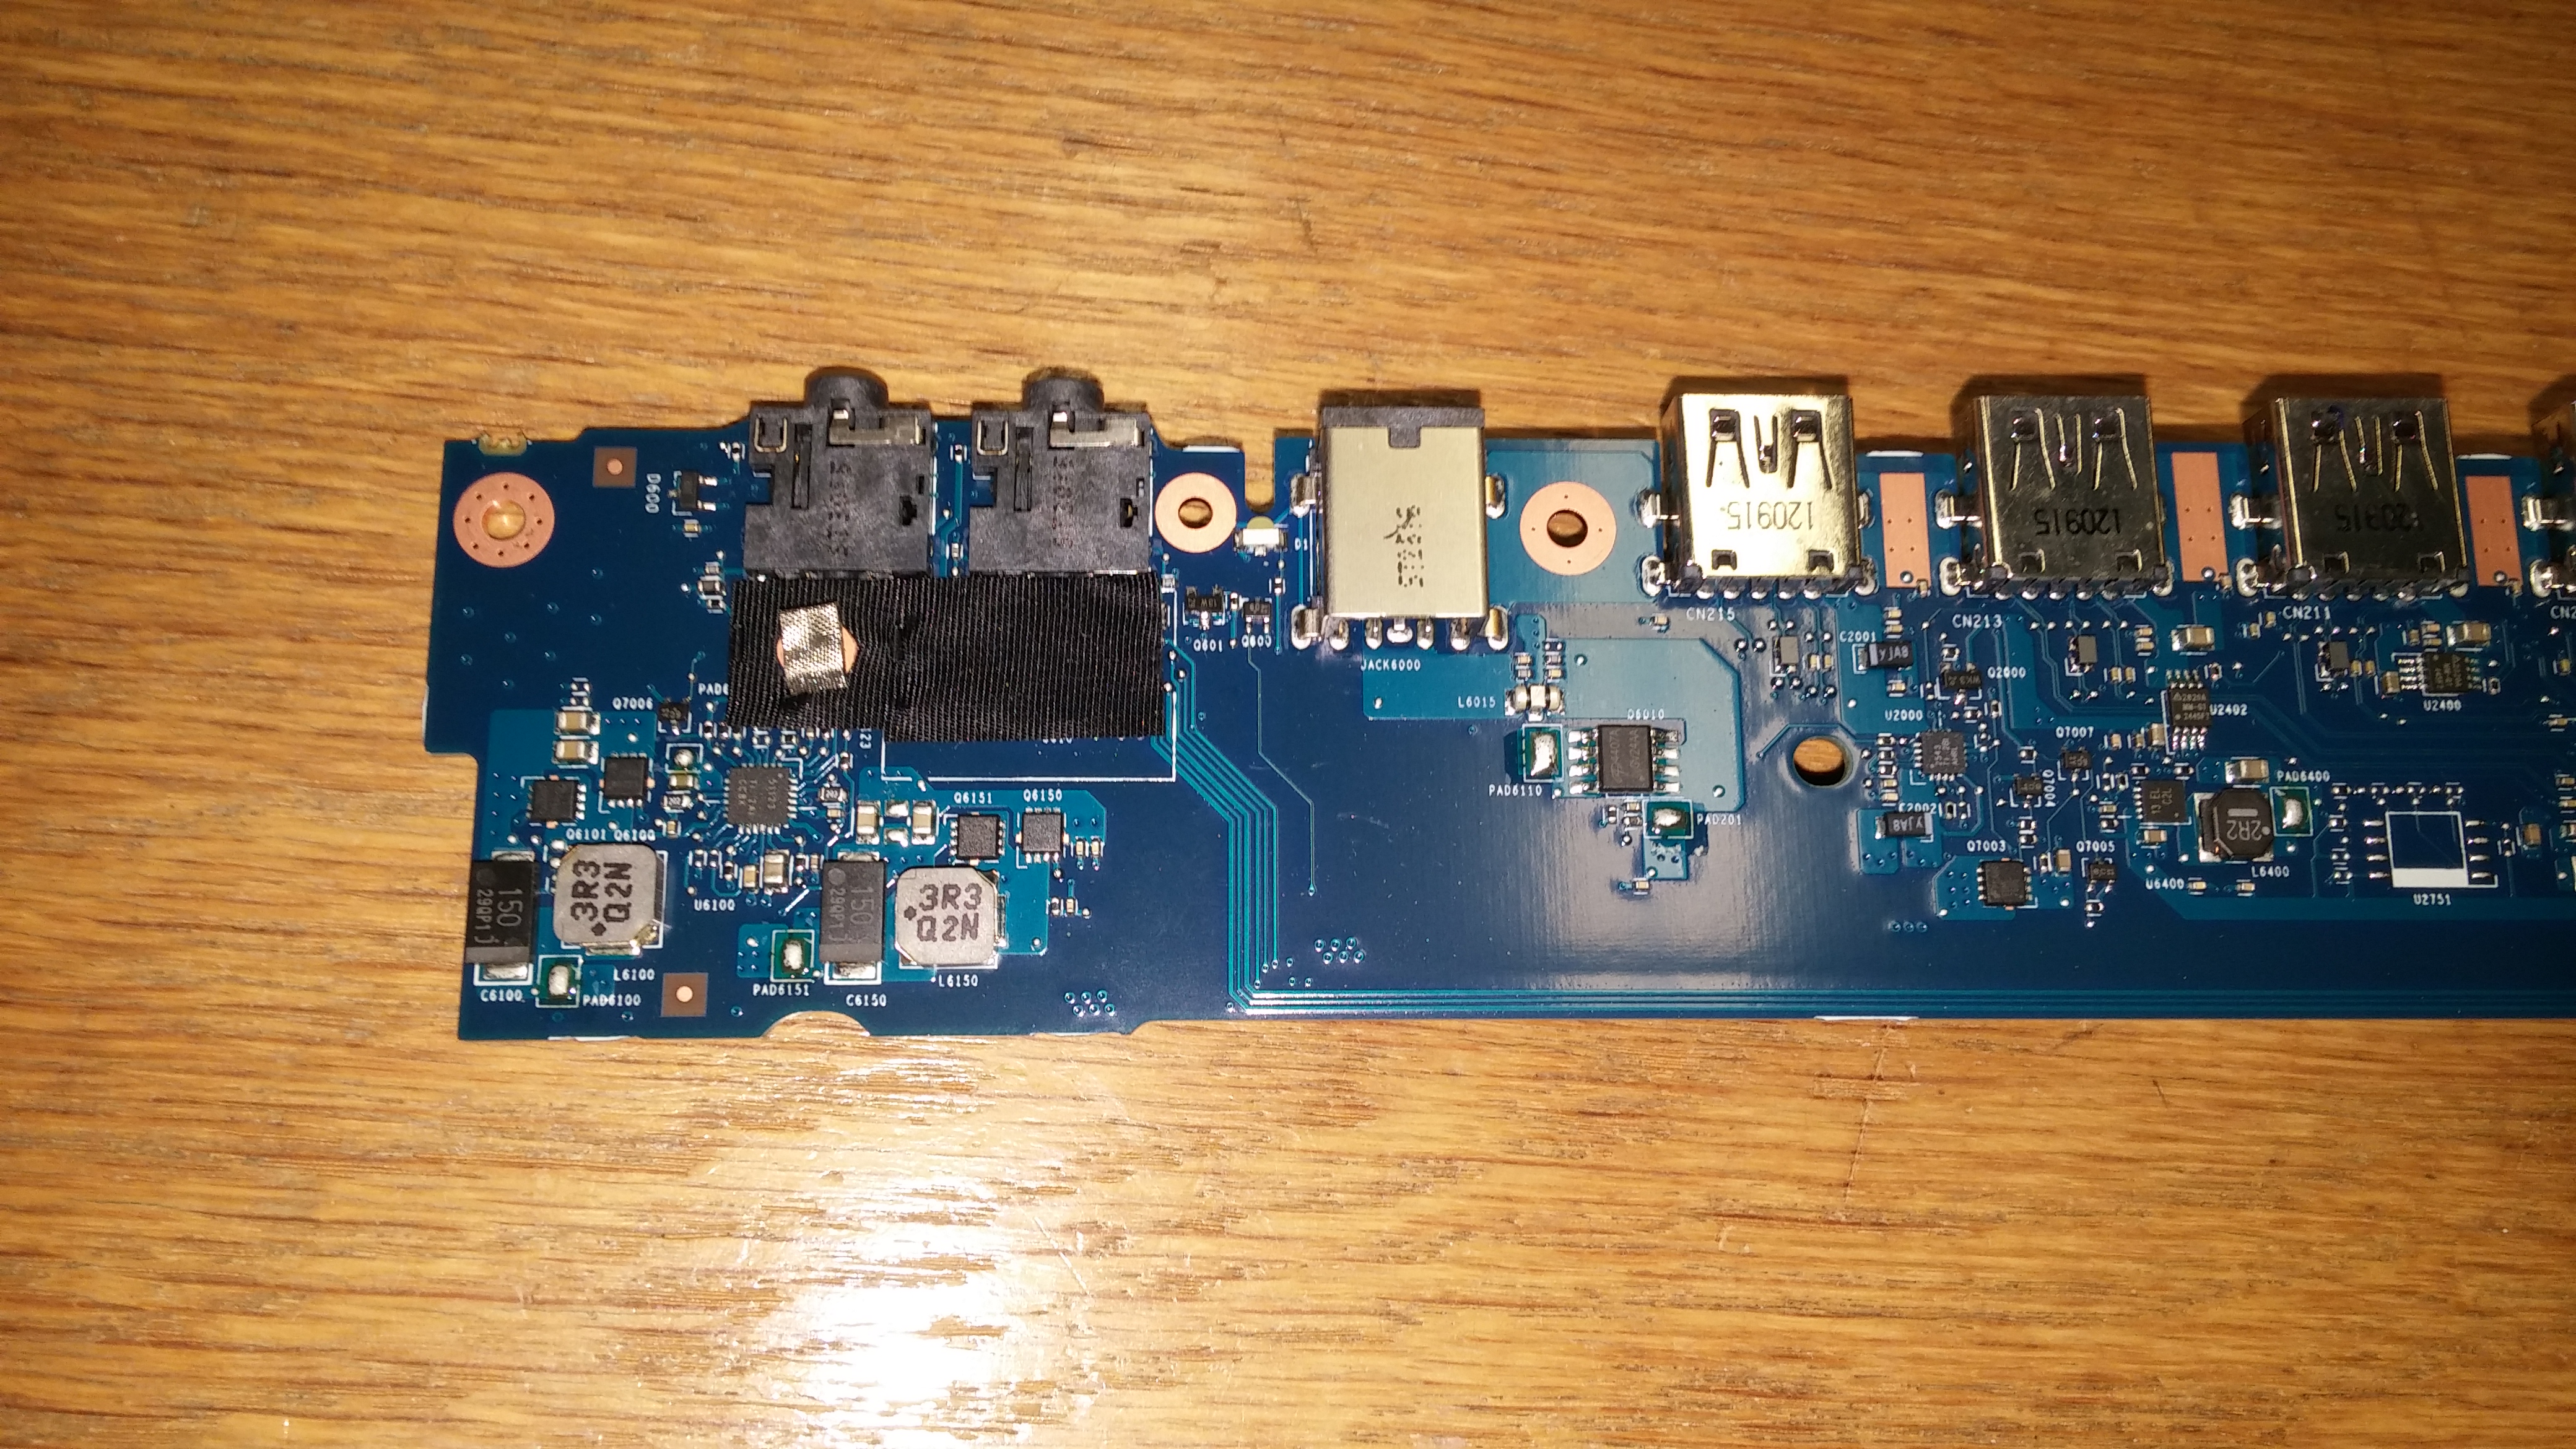
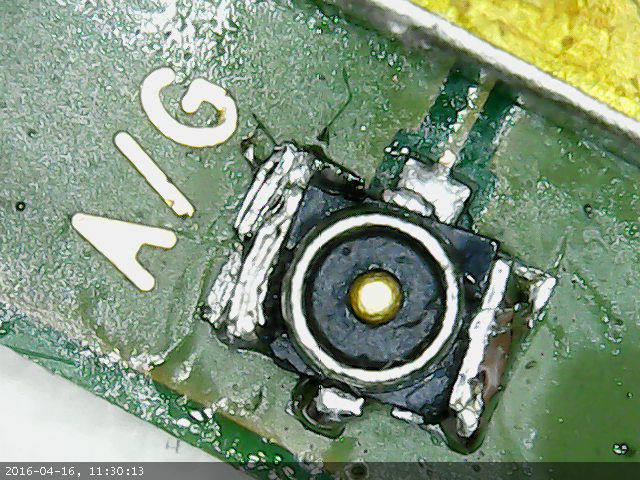
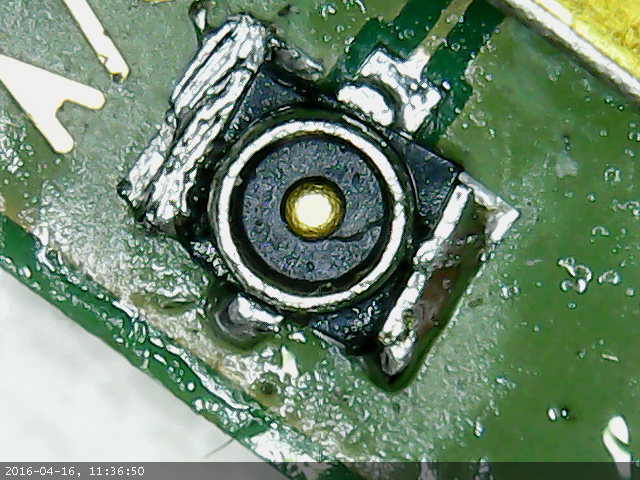
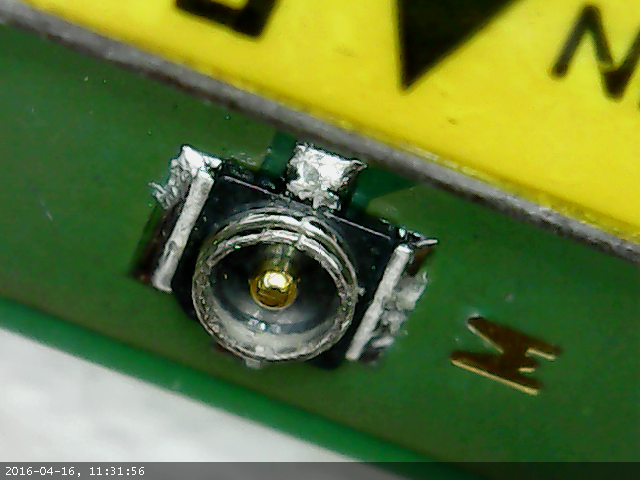
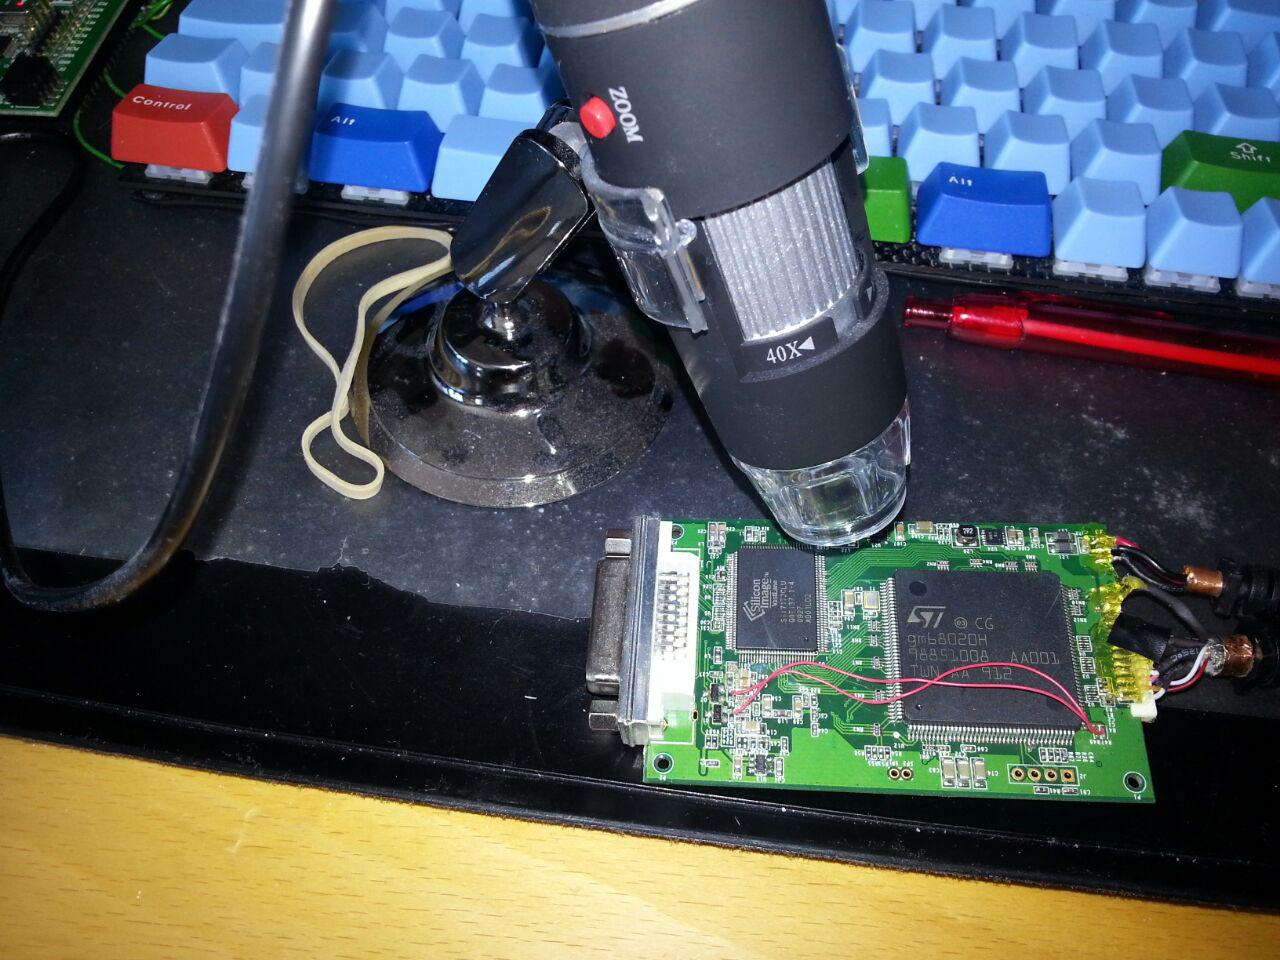
Some close-ups using the usb microscope camera.
Part of board closes to the DVI connector:
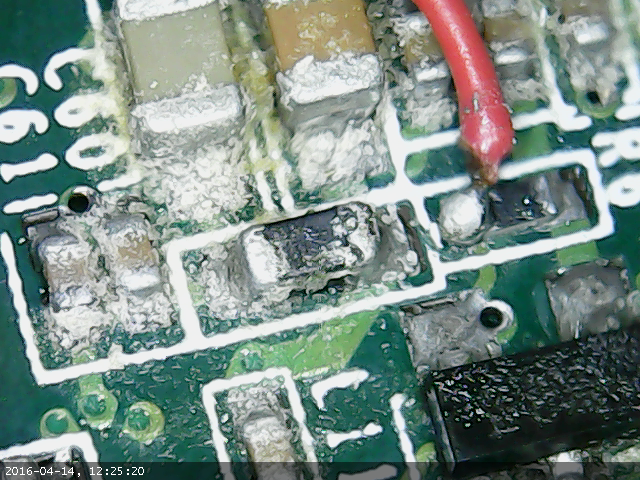
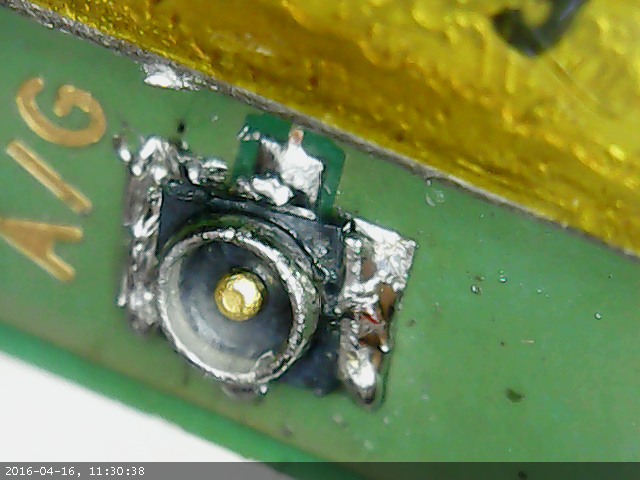
Another image close to the connector:
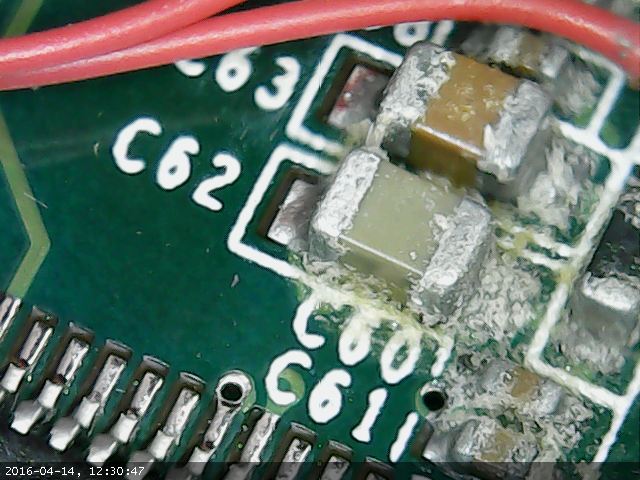
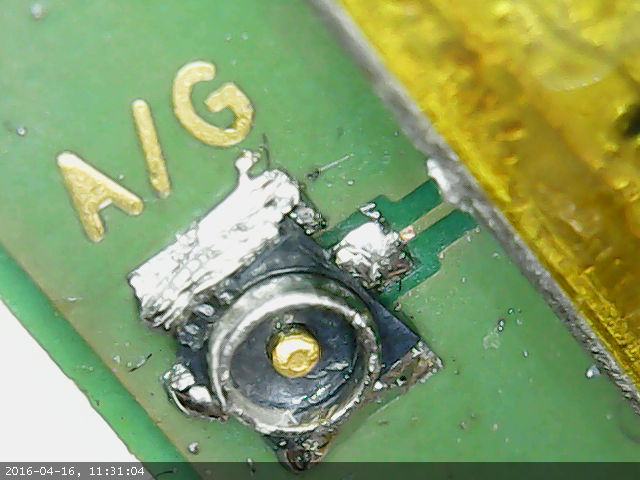
A bit further from the connector:

By continuing to use the site, you agree to the use of cookies. more information
The cookie settings on this website are set to "allow cookies" to give you the best browsing experience possible. If you continue to use this website without changing your cookie settings or you click "Accept" below then you are consenting to this.